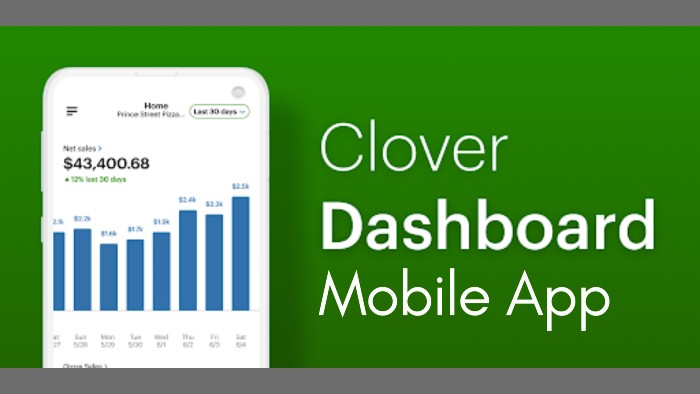
In the Clover activation email, you’ll find a link to create your Clover Dashboard username and password. Then, at any time, go to www.clover.com in your internet browser to access your Clover Web Dashboard. Through Clover’s Dashboard, merchants can track sales from any location and manage their business at any time. Clover Dashboard App provides a daily breakdown of your sales at a glance, as well as quick access to individual employee transactions. You can easily view all the details of your net sales.
or
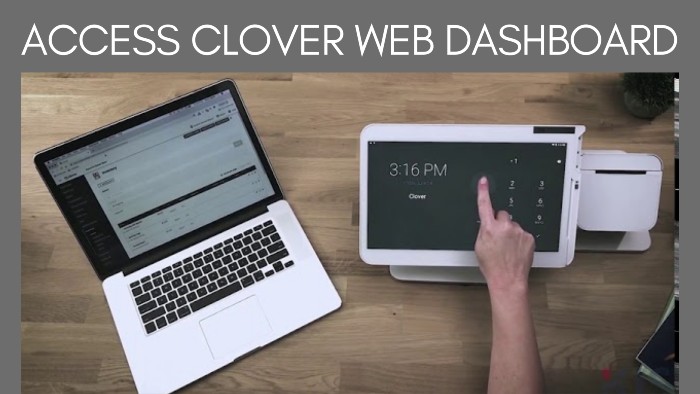
You can drill down on employee information to view transactions, refunds issued, and discount information. Clover Dashboard automatically syncs with real-time data. With the Web Dashboard, you can view your Clover system from a web browser and access many Clover apps that also run on your devices. Sign in to your laptop, tablet, or smartphone, and use the Clover Dashboard for easy business management.
What Is the Clover Dashboard Login Procedure?
From any Internet-connected computer, you can access the Clover Dashboard Login platform. Your Web Dashboard will only need to be set up once. After that, any new Clover device you add to your account will automatically sync with your Clover Dashboard.
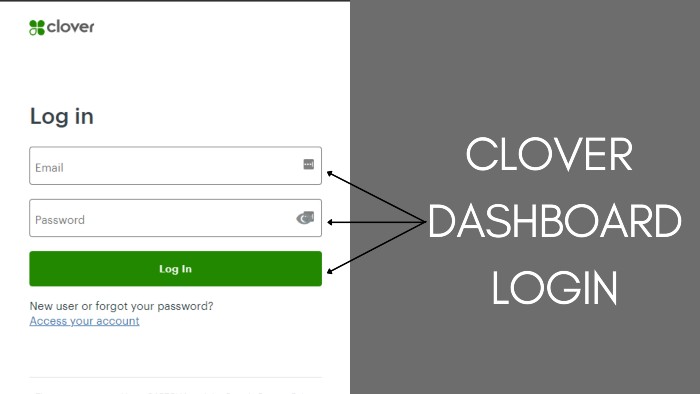
To log in to the Web Dashboard, you need an email address and password with admin privileges. Here are the steps of the Clover Dashboard Login procedure:
- On a web browser, go to www.clover.com.
- Log in by clicking the Login button.
- Admin email address and password are required.
- Click the Login button.
Every time you log into your account using two-factor authentication, you will receive an SMS with a unique verification code. Despite not having access to a computer or laptop, Clover Dashboard remains accessible from any device. Make sure your user ID and passcode have Admin permissions. To access the Clover Web Dashboard:
- Open the Setup app.
- Tap the menu in the upper left corner of the screen.
- Click Clover Dashboard.
Additionally, from the Clover Dashboard home screen, you can run daily reports, change prices, edit employee permissions, or make general changes like adding a new payment type, assigning a kitchen printer, or configuring receipt details.
How to Set Up Employee Access and Permissions?
The employee’s tool allows you to create employee profiles, assign roles and permissions, and manage employee access to clover devices. To create profiles, follow these steps:
- Sign in to the Clover Dashboard at Clover.com, then click on the employee’s tab.
- Next, click Add Employees.
- The next step is to fill out each employee’s name and assign them the appropriate role.
- In addition to email address and nickname, there are other optional fields such as Custom ID.
- Alternatively, you can create unique passcodes for each employee or use the system’s generated passcodes.
- After you have completed this process, click the save button.
Allowing Permissions
Under employees, go to the permissions section after creating the employee profile. Depending on their role, there is a list of all the different types of activities and functions you can assign to your personnel.
You should give people in the employee role the ability to register so they can handle checkout. Ensure that the employee’s role is checked for the access order’s permission in the access register in the list. Click on Save once you’re done. Likewise, click the pencil icon and select the employee role to issue refunds.
Setting Up Clover Web Dashboard
Set Report Preferences
The Cover Reports give you a good idea of how your business is doing. You can customize the reporting to match your preferences using the Clover Dashboard.
- To sync your reports with your business day’s start time, select Setup and reporting after logging into your account at Clover.com.
- Additionally, you can choose when to report a sale, whether at the time of payment or when the order is placed.
- The removed items report shows all items that have been removed from open orders and the employee who removed them. This report can be enabled by checking the corresponding box.
Set Up Taxes, Tips, and Services
You can configure everything you’ll need from taxes to the menu of services on the Clover Dashboard and Device. Setting up taxes is one of the most important things you need to do as a business owner.
- Select the Taxes & Flat Fees option.
- You can set your local tax rate as the default or enter any other taxes you need to collect.
You can always ask for tips by going to setup then tips and checking the ask for tips box. Additionally, you can suggest tip percentages. Choose whether to display your tips prompt on the printed payment receipt or the signature screen of your Clover device. You can adjust this setting only on your Clover device.
- Select tips from setup.
- In addition, you can choose whether your tips will be calculated with or without taxes.
You can either add your services using your clover device or your Clover dashboard’s inventory tool. You can build your menu of services by adding items individually. Among the main components of a menu are categories, labels, and items.
To add a new category, select categories in inventory. Categories make it easier to find items in the register. They are also useful when you need to group items in reports. We will now discuss labels.
You can add a new label in inventory by clicking labels and selecting the new label button. By using labels, you can track your business’s performance, send orders and receipts to the correct printer, and pull reports that simplify tax reporting.
Next in the line is items. In inventory, click on items and then select the add new item option. Simply fill out the fields you need, and since you’ve already set up categories and labels, you can select them from the drop-down menus.
Order Preferences
Go to setup, then orders to set your order preferences. Specify order notes if you want employees to take special instructions for orders and print them on the order receipt. Identical items can be grouped together in a register by selecting the checkbox for each. Order types such as salon and on location can be created under order and setup types. In your reports, you can sort by order type in the orders tool and group by order type.
Payment Types
Go to setup and payments to choose the type of payment you will accept. During times of network failure, you can also decide whether you want to enable offline payments. When you get a message that your refund was declined, it means the card issuer could not authorize the card you were trying to refund. Alternatively, you can refund the payment like cash, credit to a different payment card, or credit to a gift card.
An Overview Of Clover Dashboard Apps
When you log in to your Clover Dashboard account, you will see a drop-down option that will show you all apps or web apps. You will see all the apps you have downloaded, but those that only work on the station device, such as the register app, will be grayed out.
The default view will show you the apps you have downloaded that you can use on the dashboard. Whenever you click on an app, it will open a new browser window so that you may easily switch between multiple apps. There may be a requirement for separate login credentials for third-party apps such as dash list and home base. You’ll also see that on the right side of the home screen, there is a box called more apps. In this section, clover will display a few apps you haven’t yet downloaded but that you may find helpful.
You can click on billing on the App Market screen. From here, you can save your credit card information. If you agree to the terms of pricing and download third-party apps, you will only be charged.
How To Handle Clover Login Dashboard Issues?
You can log in to your Clover account on a phone or computer using a web browser. If you’re having trouble logging in, make sure your email address and password are correct, as well as that the caps lock is not turned on. Follow the instructions below to reset your password if you are having trouble logging in.
Reset your password
You can reset your password if you don’t remember it. Clover will send you an email with a link to reset your password. The link expires in 30 minutes. If you wait more than 30 minutes, you will need to restart the process. The steps to reset your password are as follows:
- You can access the Clover Dashboard at www.clover.com.
- Click the Forgot password? link.
- Click Reset Password, then enter your email address.
- An email will be sent to you to reset your password.
- Click the reset link in the email and follow the prompts to reset your password. If you do not receive the email, please check your spam folder.
- If you still cannot find the email from Clover, contact Clover support.
With two-factor authentication enabled, you will be prompted to enter the authentication code sent to your smartphone. If you don’t have your phone with you, you can enter one of the backup codes that you downloaded when setting up two-factor authentication.
If you receive a 401 Unauthorized error on the Clover Dashboard, your browser has most likely logged you out of the Web Dashboard (due to inactivity), or there has been an error that caused the session to end. When you refresh the page, you’ll be prompted to enter your Clover login credentials.
Customer Support Contact Details
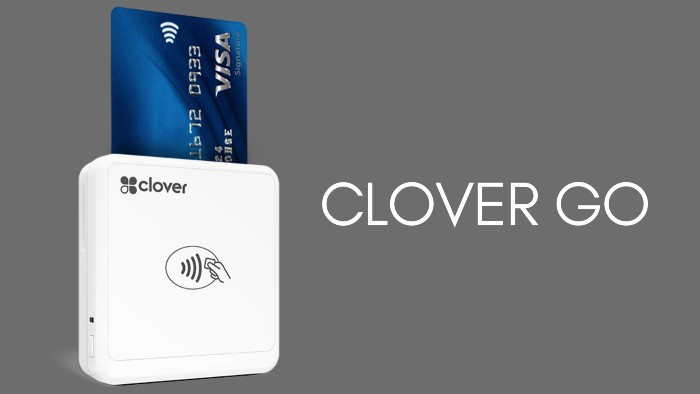
Clover Dashboard is there to support you and your business wherever you go. You can contact them via call. However, before you do that, find your merchant ID so that they can assist you as quickly as possible. The MID is displayed under the support phone number on your device or under the Help menu on the Clover Dashboard Login portal. Open the More menu on the Clover Go G2 or Go G1 app and select Help. Your MID is displayed at the top of the screen.
Find the support phone number associated with your account in any of the following places:
- On your device: Located at the top or top right of the screen.
- On Clover Go: Select Help & Support in the Clover Go app. Below the screen, you will see your support telephone number.
- On the Clover Dashboard App: (U.S. and Canada) Select Help from the Dashboard app menu. Your support phone number appears at the bottom of the screen.
- From the Web Dashboard: Under Help at the top right of the home page.
Additionally, you can ask for customer support to call you using the Call Me option. Customers in the United States can currently use the Call Me option. You can use that feature on the following devices:
- On your device: Select Call Me, enter your information, and then select Call Me.
- On Clover Go: (where available) Open the Clover Go app and select Help & Support from the menu, and then select Call Me.
- From the Web Dashboard: Select Help at the top right of the home page, select Call Me, enter your information, and then select Call Me.
| Official Name | Clover Dashboard |
|---|---|
| Portal Type | Login |
| Services | Manage Buiness Activities |
| Managed By | Clover |
| Country | USA |
Closing Remarks
You can use Clover Dashboard for front-end processing, such as setting up inventory, processing transactions, and refunding customers. With this tool, you can set up and manage your business anywhere you have an Internet connection.
You can access your Clover account from any computer connected to the internet through the Clover Dashboard. Your Web Dashboard only needs to be set up once. All information, including inventory, syncs automatically to any other device associated with this account. With the Clover Dashboard Login portal, you can see detailed reports on each of these devices.